


Hot air ballooning experience for a first timer was amazing for my kids and myself. It was an excitement when taking off and fun when touching down. The whole experience was just… unforgettable. It was one of the highlights that I looked forward to during my 13 days road trip to Australia.
As a parent and coming from a photography enthusiast, I wanted to create memories of the entire hot air ballooning experience for my family with my best photography knowledge.
For a start I prepared various lenses, two pro camera bodies, an external flash unit and a 100 LED light but I ended up using only a fish eye lens without any artificial lighting. My concerns were mainly about the lighting condition knowing the flight will be in the early morning and the movement of the balloon that may cause the camera shake, which in turn causes image blur.
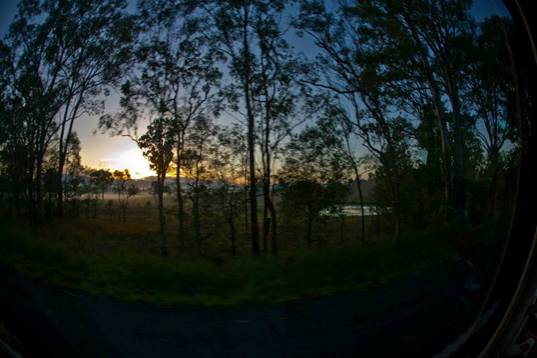
Taken during the bus journey to the flight site. Low light condition and the movement of the bus may cause the image to be blurred. Do set your ISO high to compensate the low shutter speed and prevent camera shake.
However, all my technical concerns were pretty much more like a pre-flight anxiety and not even relevant when the day for the hot air ballooning finally came as we were picked up from our hotel at about 3.45am. There were 13 of us in the bus. The driver was friendly and humorous which made our journey from the hotel to the site a pleasant one.
By the time when we reached the flight site, the sky was bright and the weather was perfect. As soon as the sun was out shinning, I started documenting the journey including the bus ride. An experience like this, I wanted to freeze the moments and capture it into memories, you know what I mean? While some passengers were dozing off in the bus during the ride, I was pretty awake anticipating for any good moments to be captured.
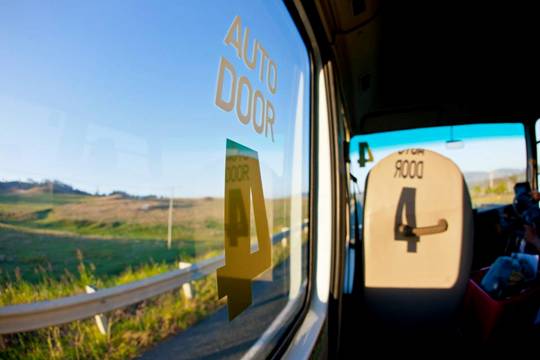
Not a lucky number for Chinese and so I took a photo of it with the shadow making it to a total of 8 instead. 8 has a connotation for prosperous in Chinese.
As I have mentioned earlier, two of the main concerns were the lighting conditions and the camera shake. Both concerns will result in blur images which sometimes, you may only realized it after you downloaded into your computer, when you view the images with a bigger screen unless you are one of them who always zoom in on your camera 3” LCD screen, checking on every images after you take the shot. But seriously how many of us do that? A versatile camera with a build-in flash should be sufficient to capture the entire experience.
Allow me to define ‘versatile camera’ – one that allows you to capture wide angles images (preferably 24mm for a full frame camera or a 18mm for an entry level of DSLR) and at the same time allowing you to zoom in, maybe a minimum of 5x zooming effect is good depending on the height of the balloon.
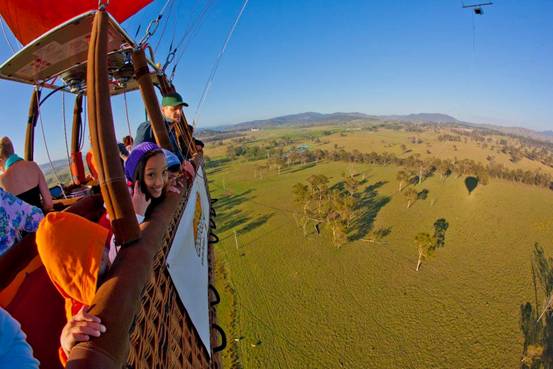
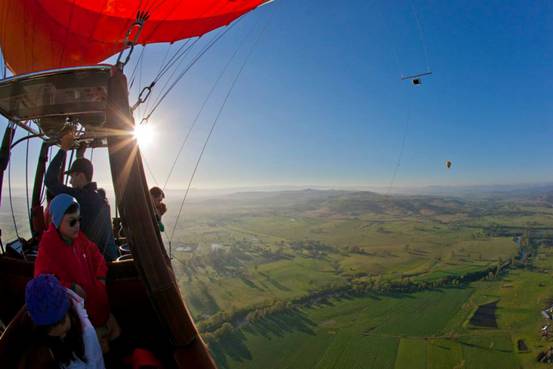
Placing my subject (my daughter) on the left side of frame, about one third of the entire frame allows me to include the scenery showing the idea of flying.
My personal take is that when you are up in the sky, you will probably be mesmerized by the scenery and end up using mainly wide angle, which happened to me. Besides, with a confined space during the flight, you probably won’t be using much of a zoom. However, as much as you may be confined by a small space but the visions when you are up in the sky is as far as your eyes can see.
One of the photography techniques I always use is the Rule of thirds. Rule of thirds simply means to compose your subject in such a way where it takes up one thirds of the entire frame leaving the other two thirds for something else. This rule is very useful especially during the flight when you want to take photos of your friends or family members in the balloon while showing the balloon’s altitude. This will give you space (the rest of the two thirds) to capture the scenery with your subject showing the whole idea of flying.
My subjects are well exposed but leaving my background over-exposed. This can be over come using the camera’s built-in flash, what we generally call it as fill-in flash photography.
Second thing that you may want to take note during your flight is the position of the sun (light source). Lighting conditions are constantly changing as the balloon is always on the move and some times the light source (sun) may end up behind your subjects (back lit), causing your subjects to be in the shadow. This is the time when your build-in flash comes in handy. Most cameras nowadays have a back lit function where the camera will compensate the reading by over-expose the frame by 2-stops, giving your subject well exposed. However, it will also wash out the background. In such cases, simply activate the flash manually and do a fill-in flash photography.
I have my camera setting recording in Raw as I wanted to have the full flexibilities of post production but generally, most people will just set at jpeg. I strongly encourage you to use the fill-in flash when you are faced with back lit conditions.
Back lit can create a nice mood shot like this too.
Other than the rule of thirds, within such confined space in the balloon, you may also explore the angle of the camera as the wind takes your balloon through the open land of Gold Coast. A higher camera angle exaggerate the heights of the balloon. This is especially effective if you are using a wide-angle lens. Alternatively, you can also try to secure your camera to your wrist and extend your arm out of the balloon’s basket and take some selfie.
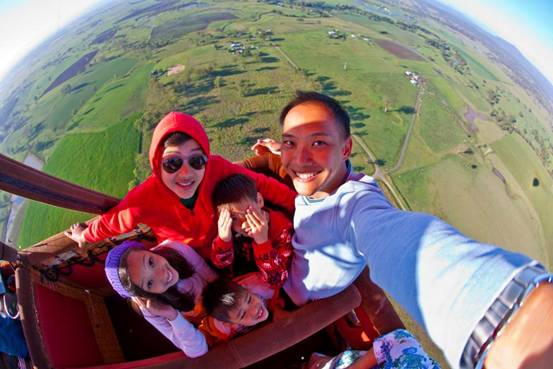
Fisheye lens bend the edges and makes the subjects smaller.
In the midst of taking photographs, do take some time off from the camera and admire the views up there. Absorbing in the essences of Gold Coast and creating memories that last forever with you, memories that are priceless and beyond words can describe.
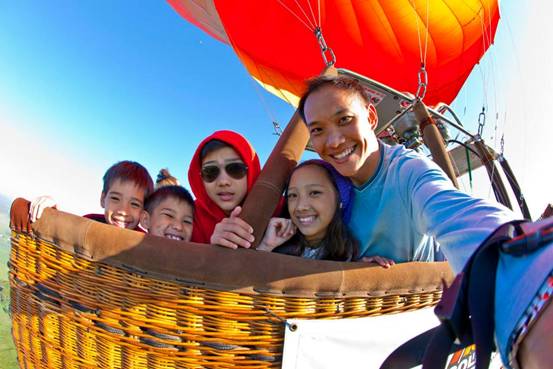
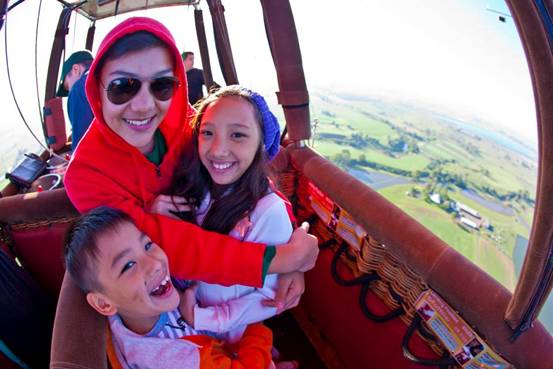
A family selfie of us with Hot air ballooning Australia.
Even as I pen down my hot air ballooning experience in Gold Coast Australia, the whole experience is just vividly running through in my mind. The experience is just OZ’some! I am sure you will have a wonderful ballooning experience with Hot air ballooning Australia as much as we did. Be it a smartphone, a compact digital camera or a professional DSLR, rule of thirds will still applies the same. As to which capturing devices to choose depends very much on what you intend to do with the images you take after that. Whatever devices you choose, I am sure your hot air ballooning experience will be one that last forever in your memories.
Wayne Toh
To find out more about Wayne Toh visit www.dpictureroom.com